It’s almost spring and we’re all (hopefully) enjoying the winter thaw. The slightly warmer weather has many of you thinking about starting your summer outdoor gardens indoors. With that in mind, we pulled together a guide to help you start your garden indoors with your Rise Garden.
Why would you want to start planning your summer outdoor garden inside?
There are a few reasons why you should start your summer garden indoors, including: to get a jump start on plants you want to grow from seed, have access to plant varieties not available at a local nursery, and source high-quality, organic, GMO-free seeds.
Starting your summer garden with your Rise Garden in the spring will actually accomplish all of these goals! Seed starting in your Rise Garden will even save you money. For example, a tomato plant might cost $5-$7 each at a nursery or big box store while one box of 4 Little Bing Tomatoes seed pods cost $12.49. Our seedless pods also allow you to grow exotic and hard to find plants from seeds. Since you are only starting your plants in the Rise Garden, your outdoor varieties can be heirloom and/or larger in size than what you typically grow in your smart garden.
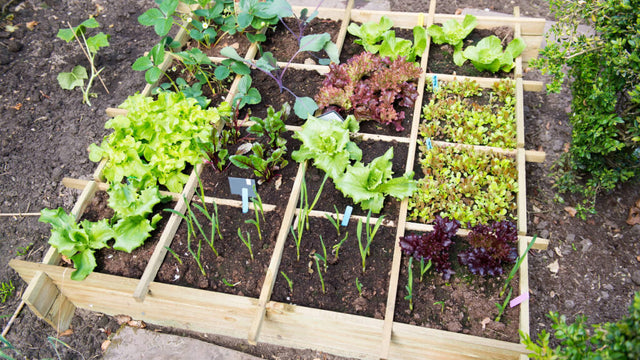
Now that you’ve decided to start your outdoor garden indoors, let’s get to work:
-
Step 1: Plan your garden
The first question to answer is a super fun one: what do you want to grow?
To answer that, you should take inventory of the food you and your family like and even a few you want to try! Popular summer garden plant varieties include: tomatoes, peppers, jalapeño peppers, cucumbers, zucchini, peas, eggplant, basil, cilantro, parsley, leafy salad greens, and summer thyme. Another item to consider is what type of native plants can you add to your garden. Adding a few native plant species to your garden will help birds, insects, and pollinators.
Once you have your list compiled, it’s time to get your supplies together. -
Step 2: Gather supplies
To start your garden indoors with the Rise Garden, we’ve compiled an easy list of recommended supplies:
1. 8 and 12 pod trays (2-3 total)
2. Rise Gardens seed pods
3. Rise Gardens seedless pods
4. Vegetable, flower, and herb seeds
-
Step 3: Start Gardening
This part is already familiar to most of you (unless you’re new—welcome!): starting your seed pods in your nursery. Just as you do when you garden year-round, start your seed pods in their nursery and follow your app instructions. We recommend starting your seeds in the nursery instead of the Rise Gardens because it will increase the size of the plant and its productivity. Also, don’t forget that your seeds aren’t strong enough for nutrients right away so if you have plants already in your Rise Garden receiving nutrients, placing the seed pods directly into the garden will decrease the germination rate.
Following the app instructions, once your seeds have sprouted and have the appropriate number of leaves, it’s time to transfer the seed pods to the Rise Garden and let them grow for anywhere to 4-6 weeks. Once you transfer the seed pods from the nursery, you may need to repeat the process depending on the number of plants you are starting.
Side note: you may be growing these plants outdoors but you still want to use your Rise Gardens app to ensure you remember what they are when it’s time to transplant them outdoors.
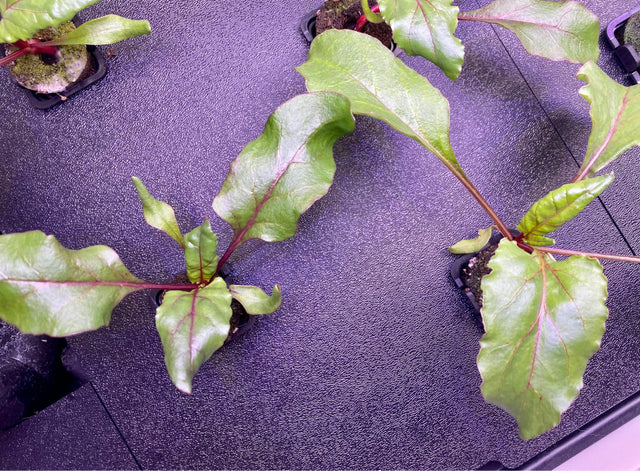
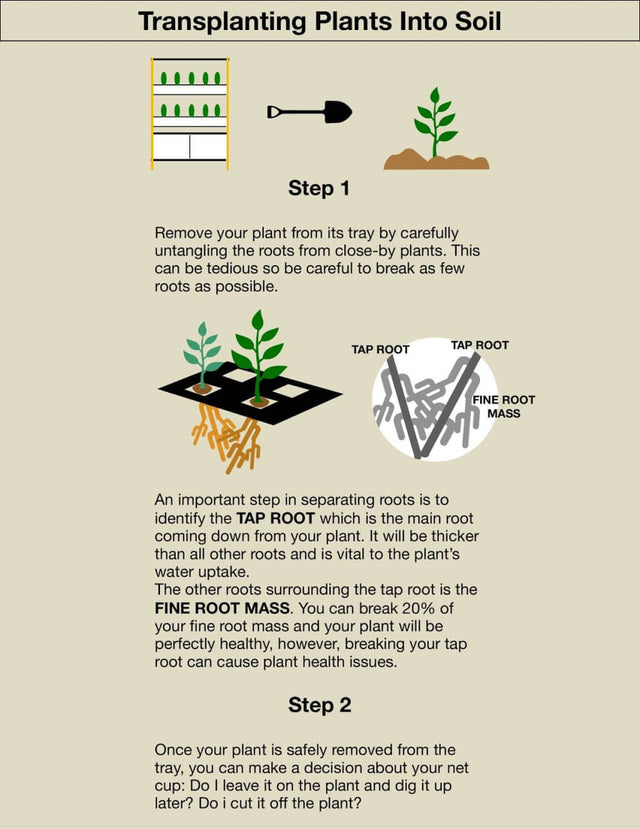
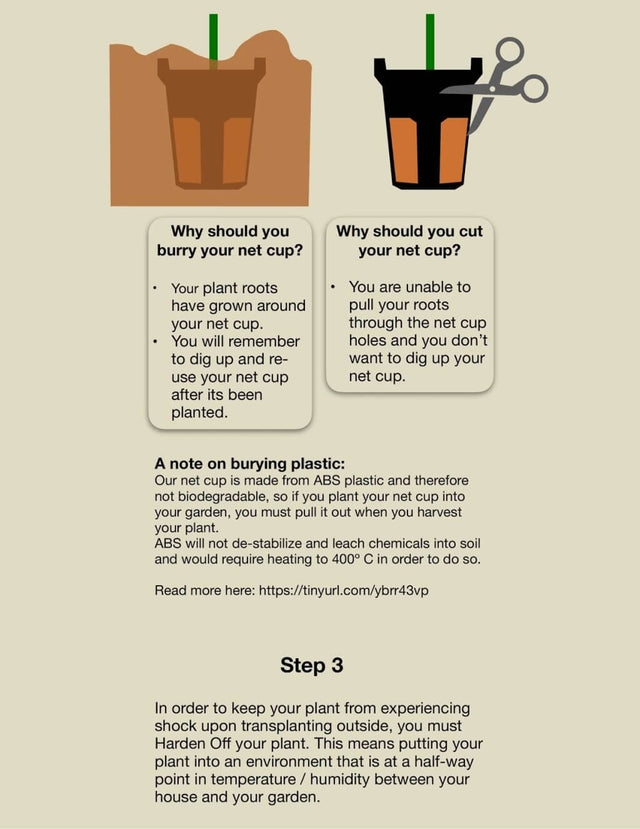
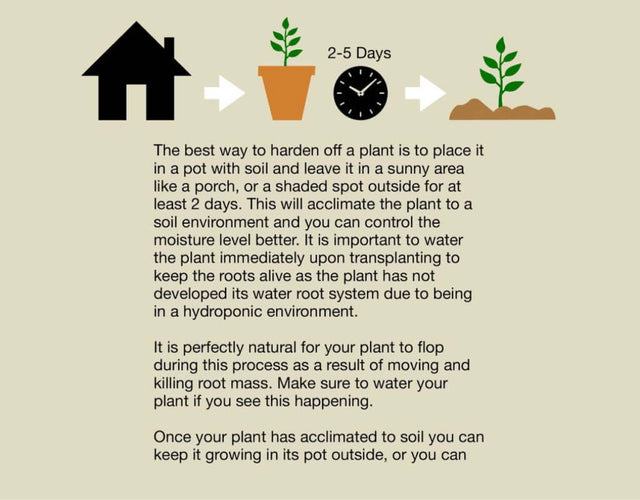
- Step 4: Transplant your garden outside
