#1: PLANT LIFECYCLE OBSERVATION
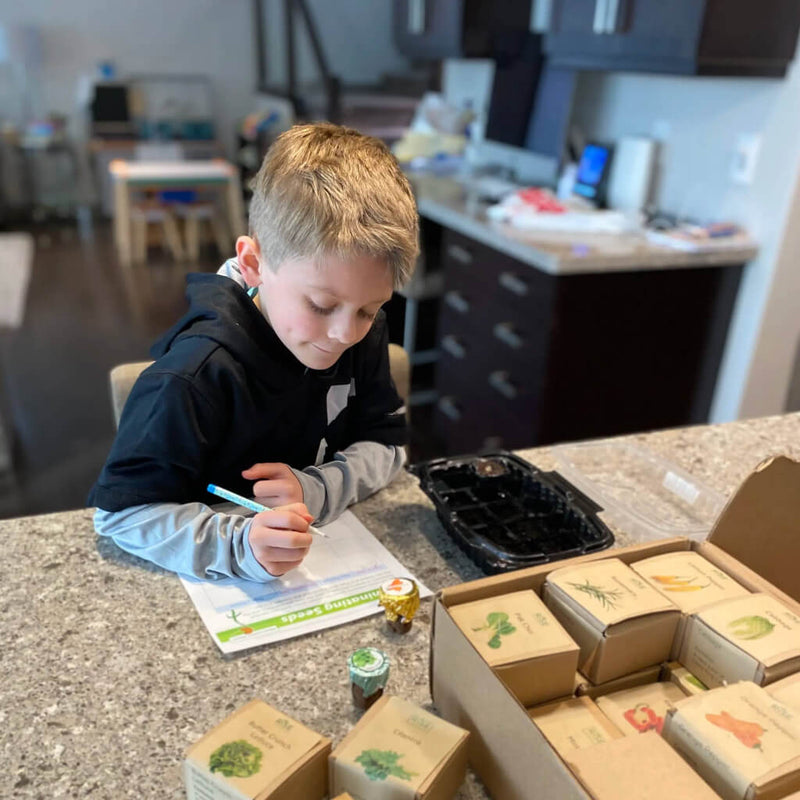
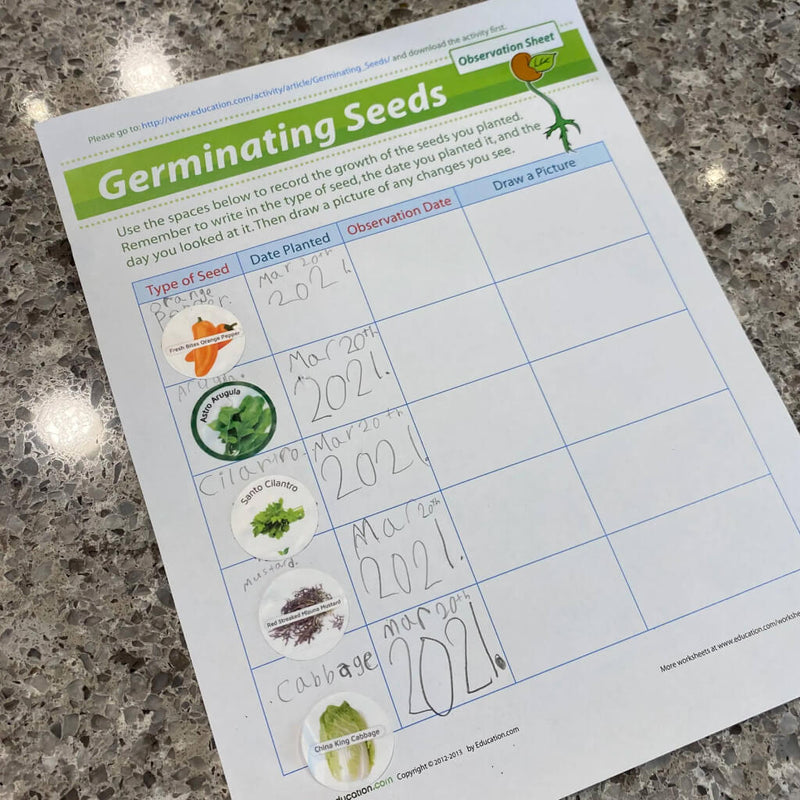
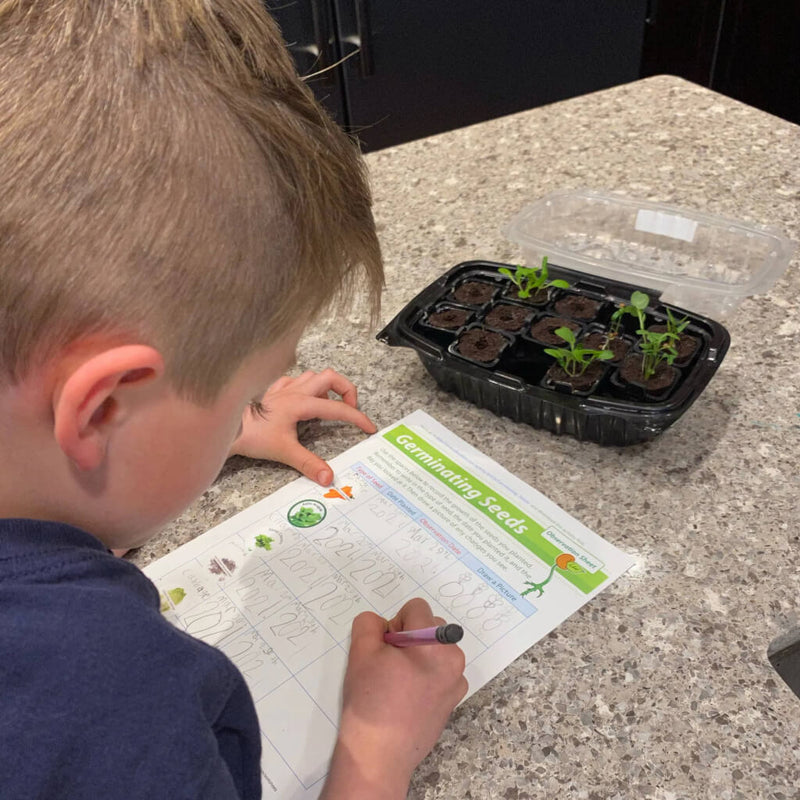
What better way to get to know plants then to make some observations and study them! The first activity I have for you involves observing your plants germinate, which is the perfect activity for the nursery stage of your Rise Garden. This free worksheet has room to record up to five different seed types to study their germination. It includes a space for a planting date, an observation date, as well a space to draw pictures of your seedlings. Once you have set up your nursery, I recommend waiting 7-10 days before making your observation drawings so that you can start to notice the difference between the seedling characteristics. As you add your plants to your garden from the nursery, you can continue to observe their growth stages. Here is another worksheet, specific to lettuce, to help follow along with the plants life cycle. To add a bit more to the worksheet, add the cut out growth stages to the diagram as your Rise Garden plant reaches that stage. You can also make note of the days it takes to reach each stage.
Fun science vocabulary: the first leaves that appear after germination are called the cotyledon leaves. These leaves contain all the stored food reserves of the germinating seed and once they emerge and turn green, they can begin to create energy for the plant.
#2: PLANT PARTS AND WHAT THEY DO
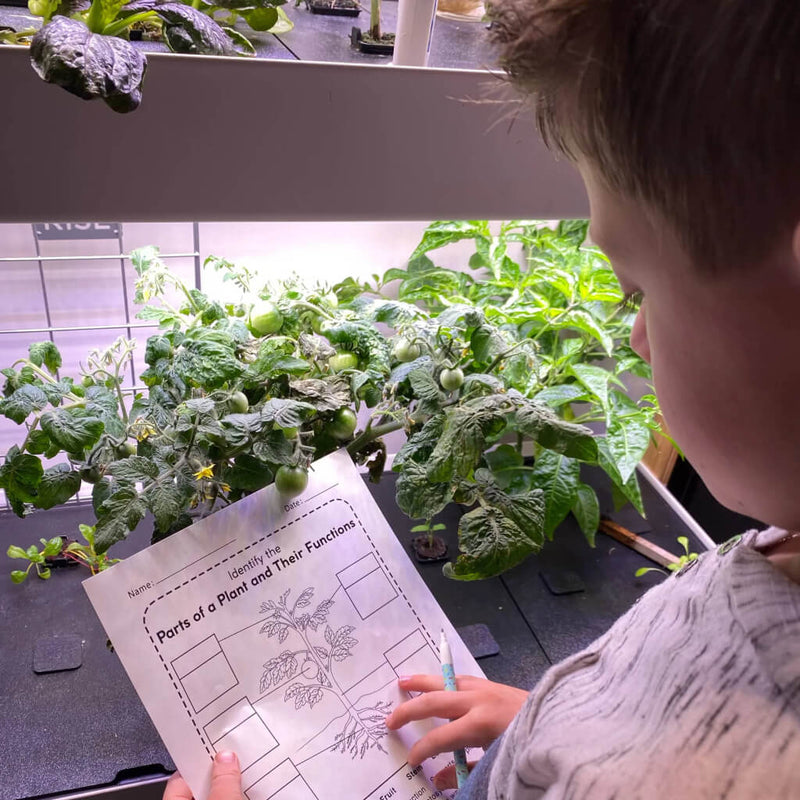
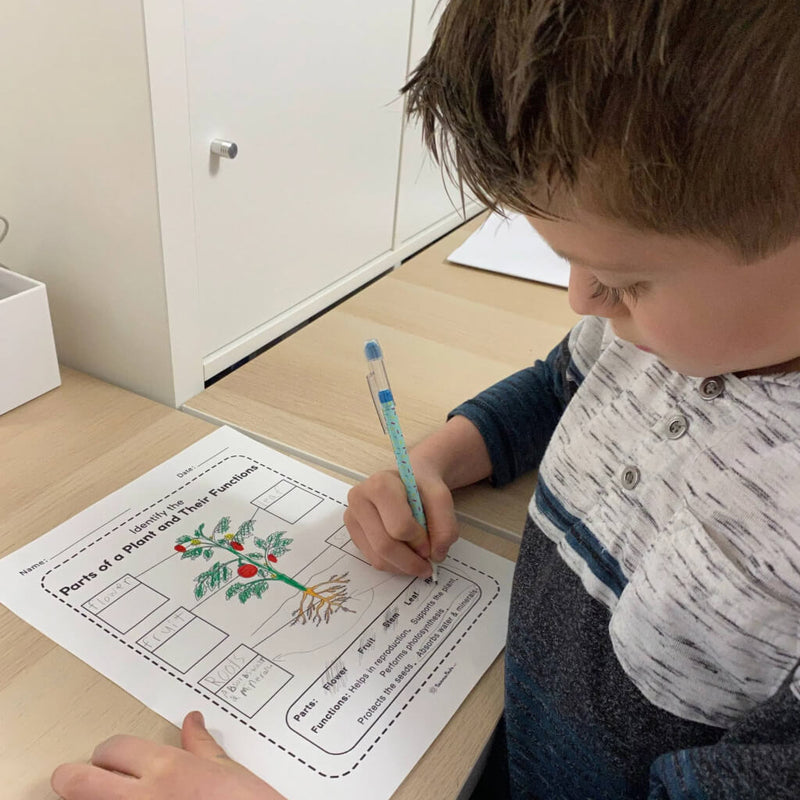
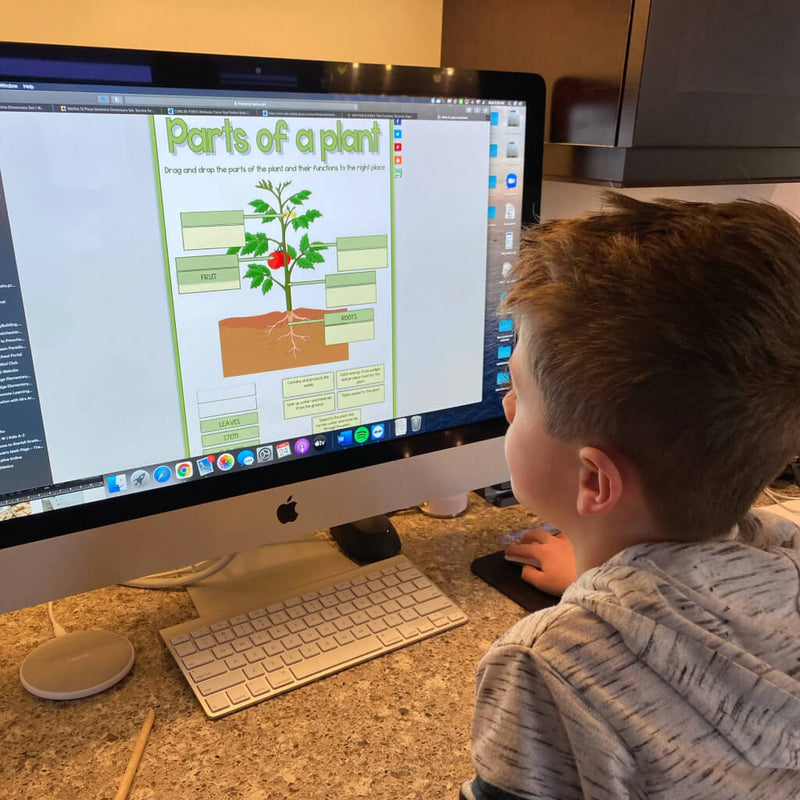
Interested in learning more about plant parts? The resources in this activity are specific to a tomato plant, so if you have one planted, feel free to use that as your visual. If you don’t have one already growing in your Rise Garden, add one to your nursery and follow along with as we learn about the parts of a tomato plant and what they do! These free worksheets are suitable for kindergarten to grade 3 and have options to label plant parts or identify the functions of each plant part. To complement these sheets, this link goes into more detail and explains the main plant parts as well as their main functions. There are even a few quiz questions at the end. The last link I have for you is a digital version of labeling the plant parts and functions, where you can drag and drop the answers into the appropriate boxes beside the plant. Once you have the basics down, you can discuss the parts of other plants growing in your garden with your children.
#3: THE SCIENCE OF COOKING
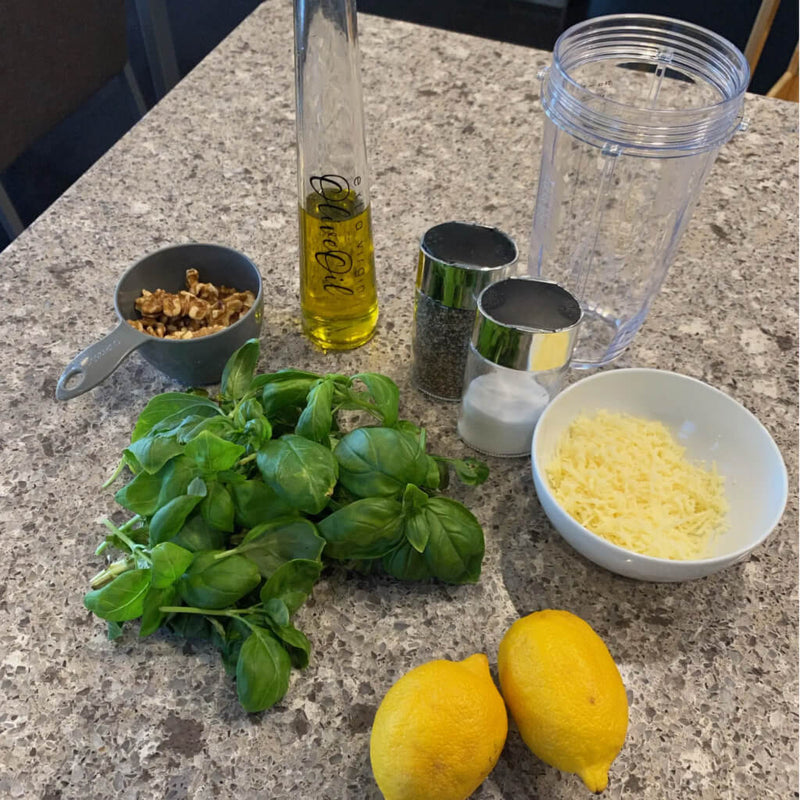
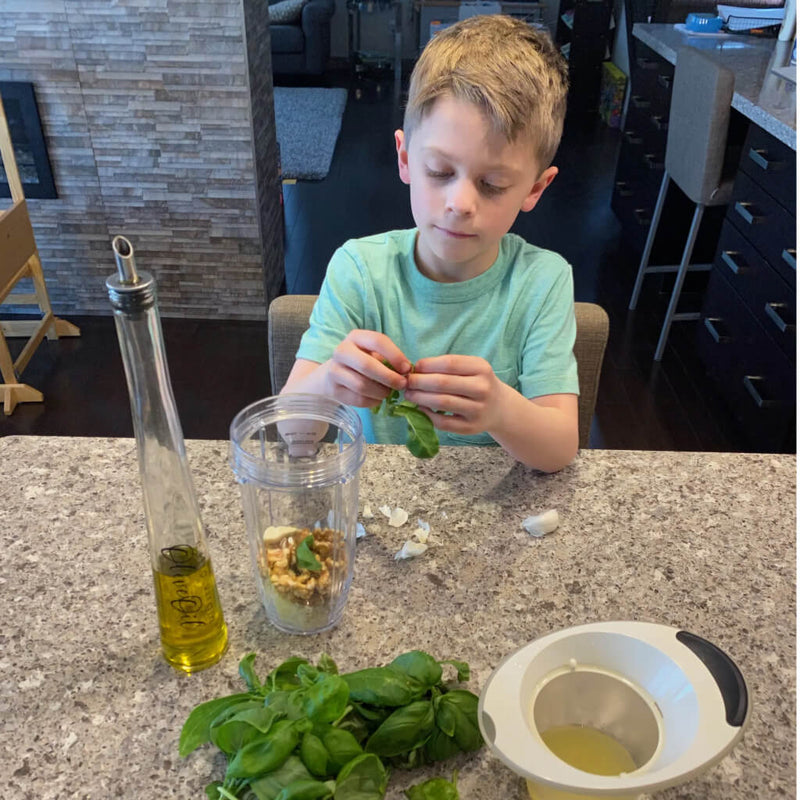
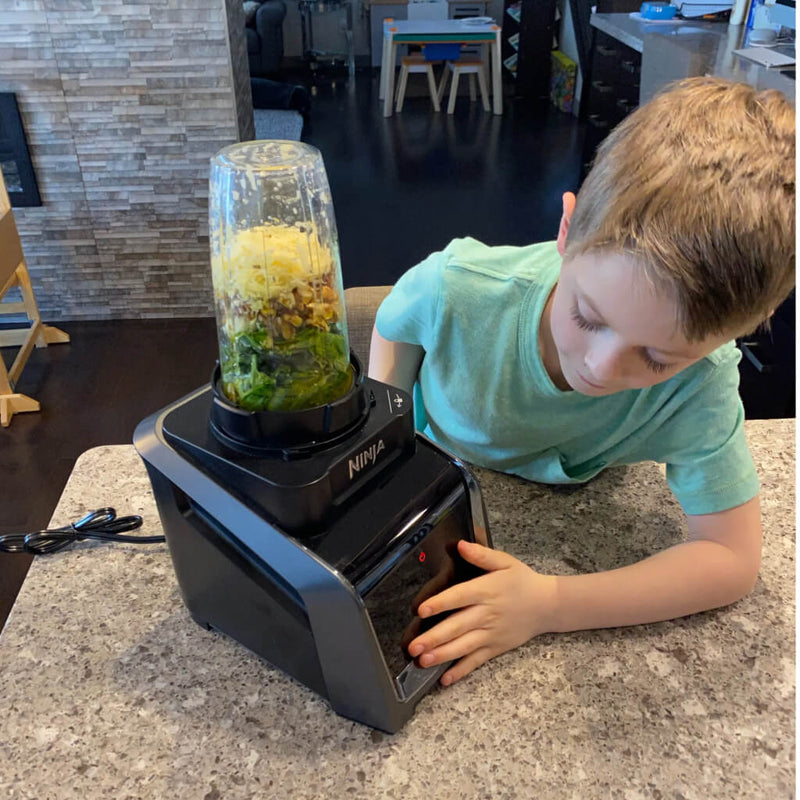
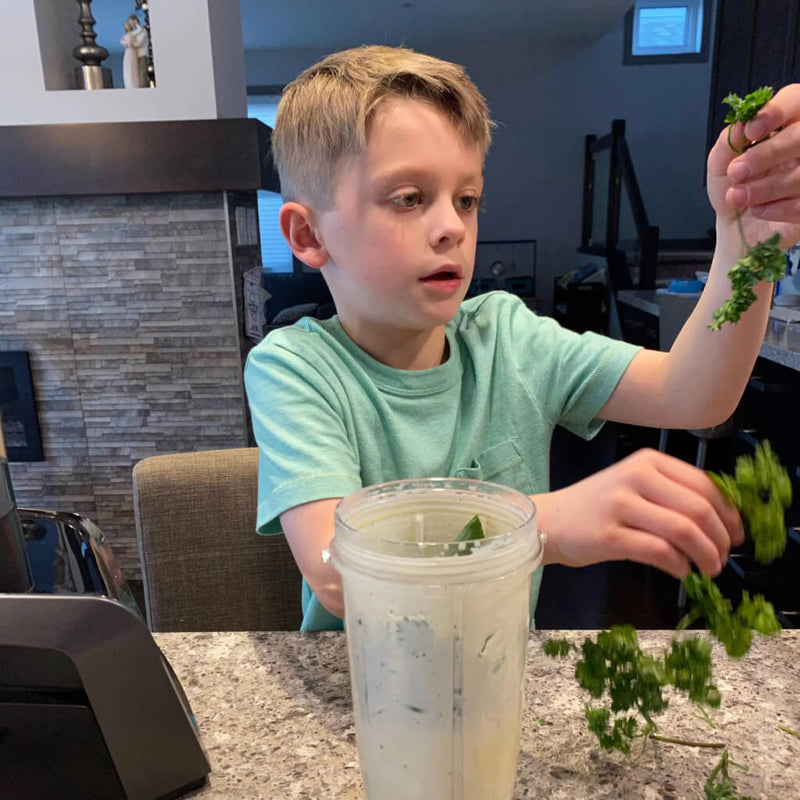
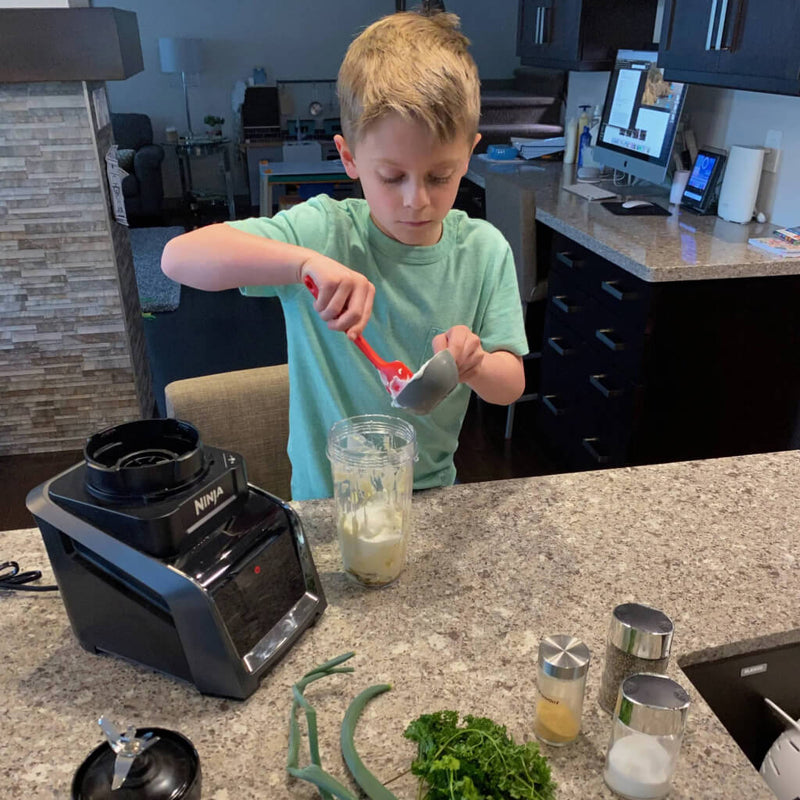
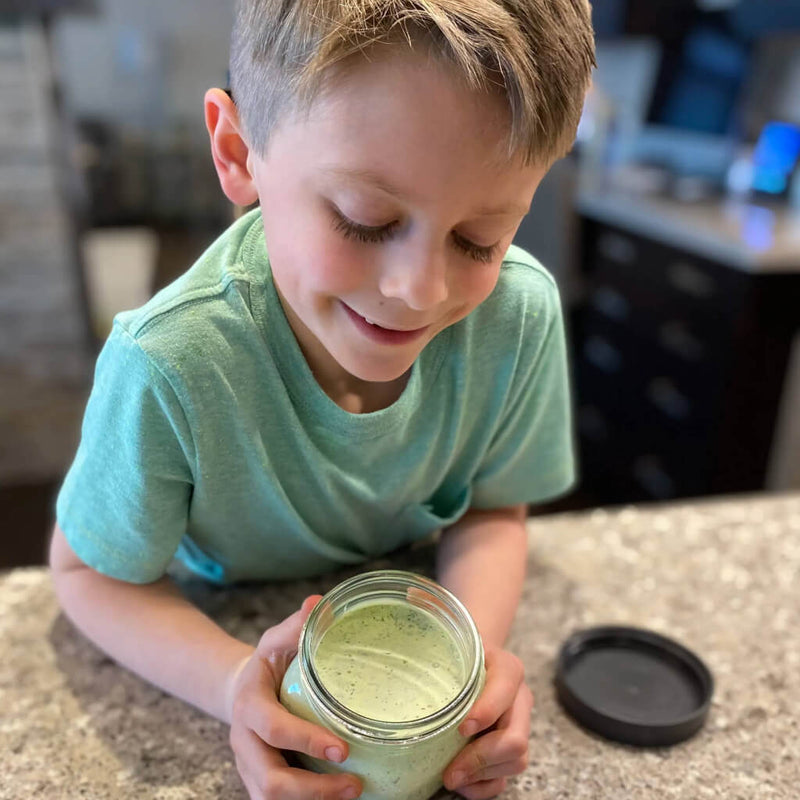
Whether you consider it to be or not, cooking is very much science – measuring, mixing, turning ingredients into creations, making each time you cook a different experiment. In this activity, I have two simple recipes that use ingredients from your Rise Garden to have some fun in the kitchen with your little helpers. All you’ll need is a food processor or blender cup along with the ingredients for each recipe to enjoy these kitchen experiments!
PESTO
- 2 cups of basil leaves, tightly packed
- ¾ cup shredded parmesa
- ½ cup extra virgin olive oil
- ½ cup pine nuts or walnuts
- 2 cloves of garlic
- ¼ cup lemon juice
- ½ tsp salt
- ¼ tsp pepper
Add all ingredients to a food processor or blender cup. Blend until smooth.
RANCH DRESSING (OR DIP)
- 1 cup mayonnaise
- ½ cup sour cream
- ½ cup buttermilk*
- 2 cloves garlic
- 1 tsp lemon juice
- ½ tsp salt
- ¼ tsp onion power
- ¼ tsp pepper
- ½ cup parsley
- 2-3 chive leaves
- 2 tbsp fresh dill
Blend first 7 ingredients together until smooth. Add the fresh herbs and pulse until they are nicely chopped, but not completely blended.
*Adjust the buttermilk amount to your preferred consistency for a dressing or omit if you prefer a dip.
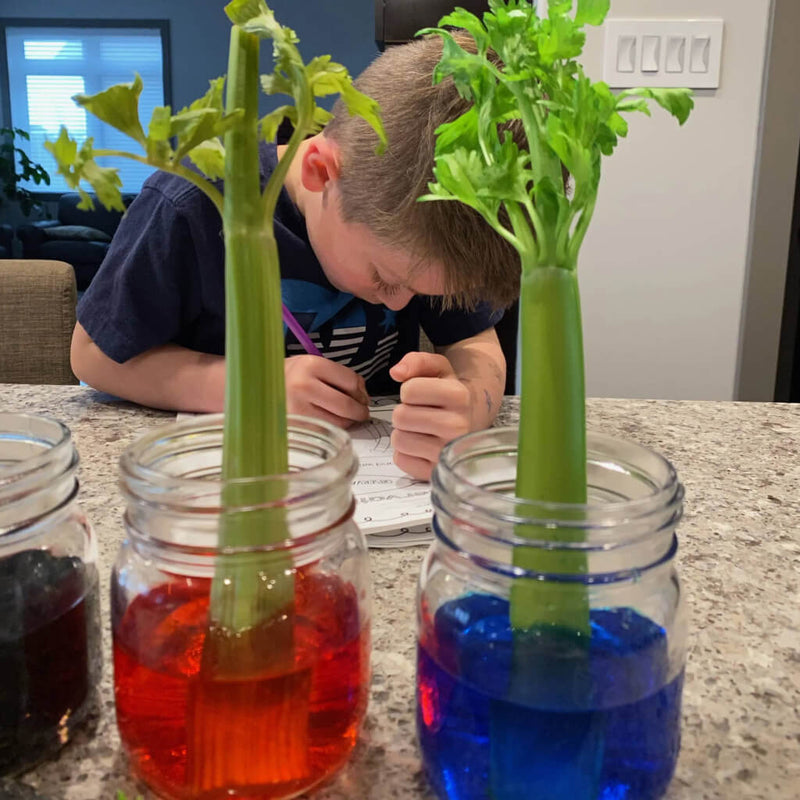
#4: COLOR CHANGING CELERY EXPERIMENT
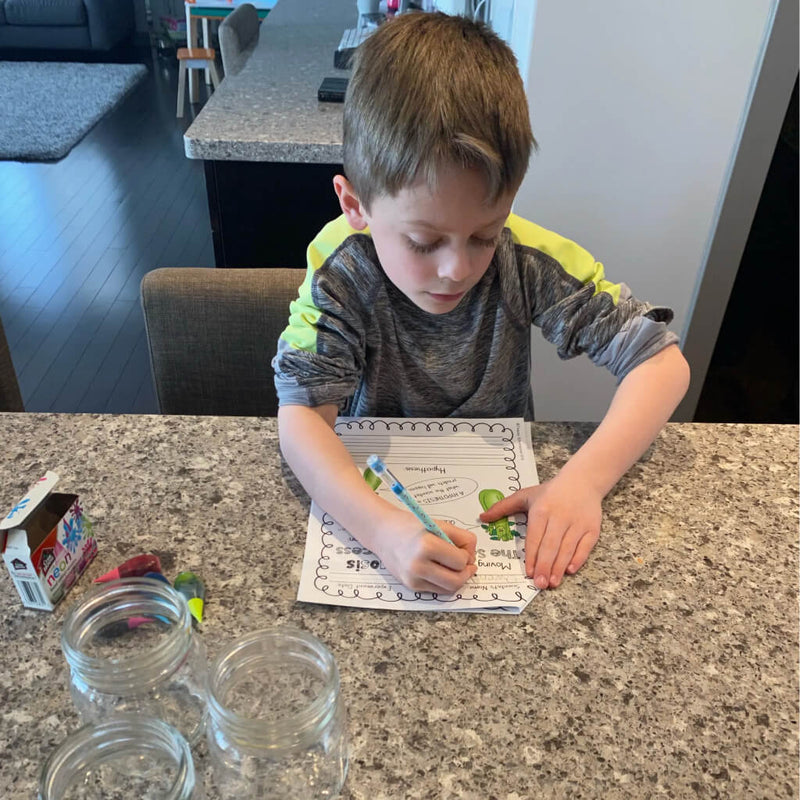
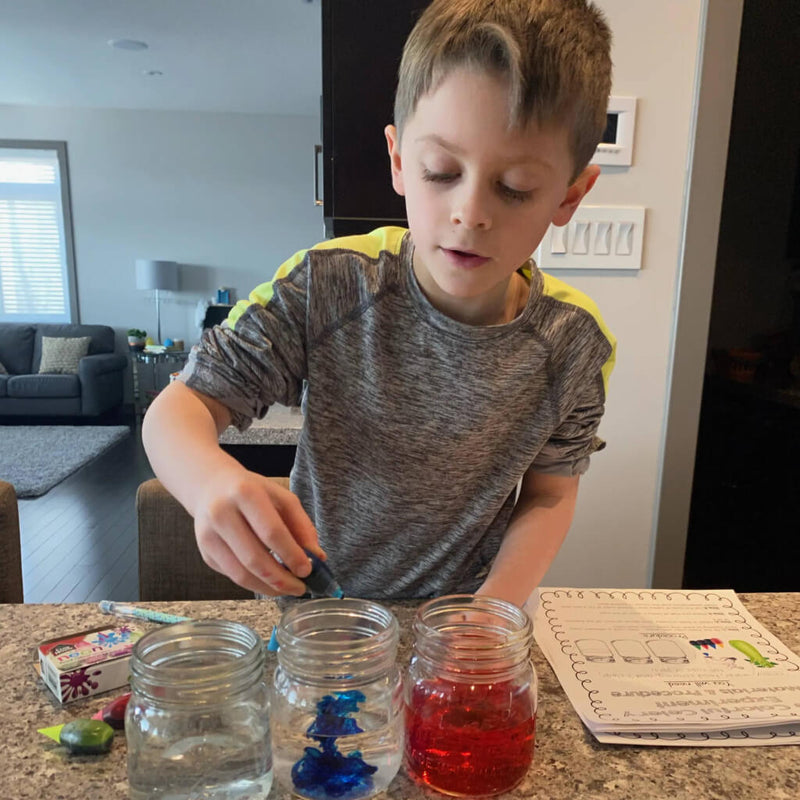
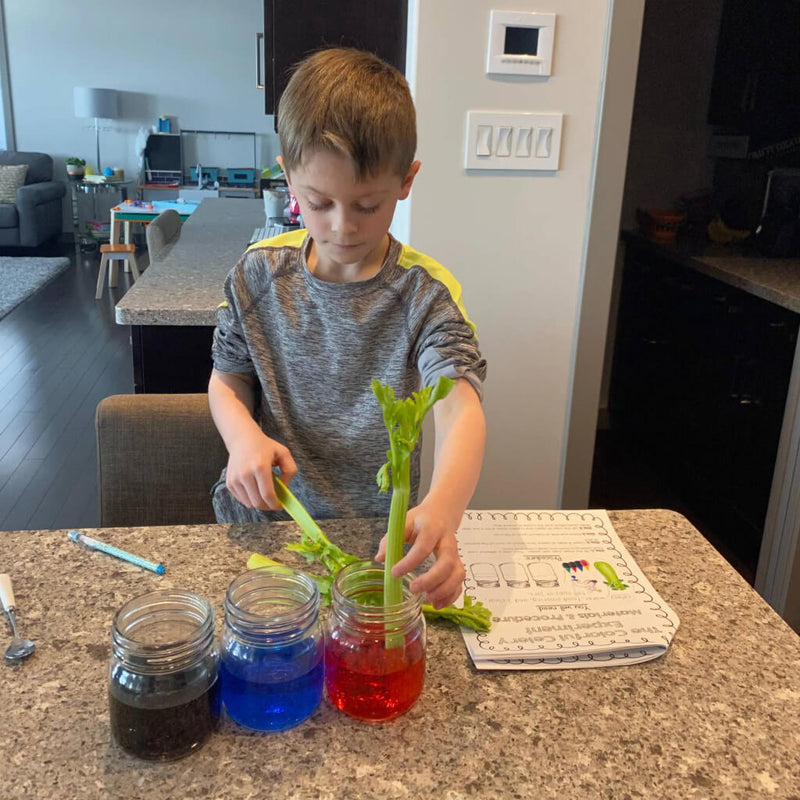
This activity is a full out science experiment that takes you through the scientific process of making predictions, observations, collecting data, and finally forming a conclusion. This free resource will guide you through the scientific process from start to finish, including instructions for the experiments and providing places to record your observations and form your conclusion. Suggested materials for this activity are celery (from your Rise Garden of course!), water, food coloring, and 3 tall clear cups or jars. Your budding scientists are sure to enjoy this activity!
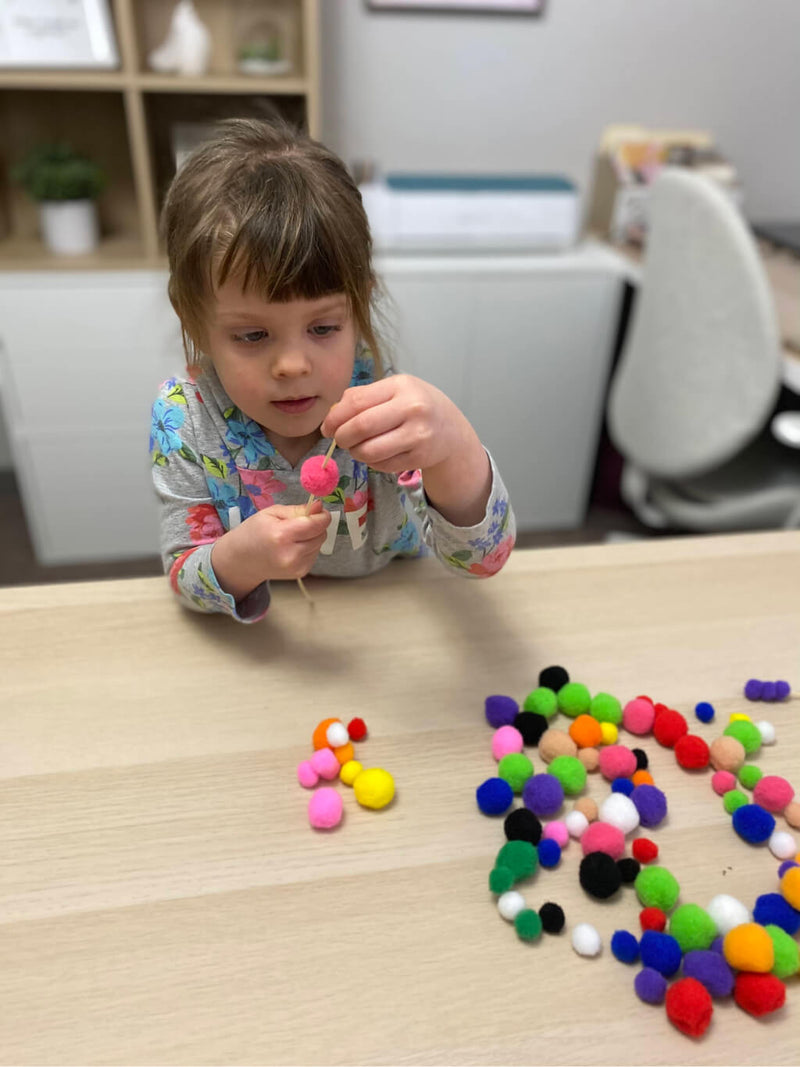
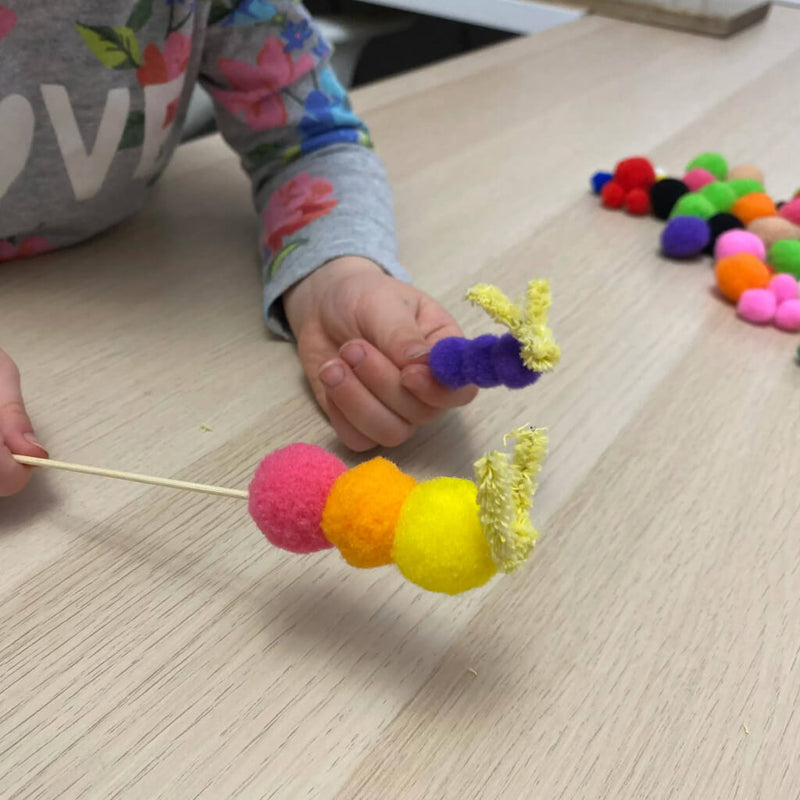
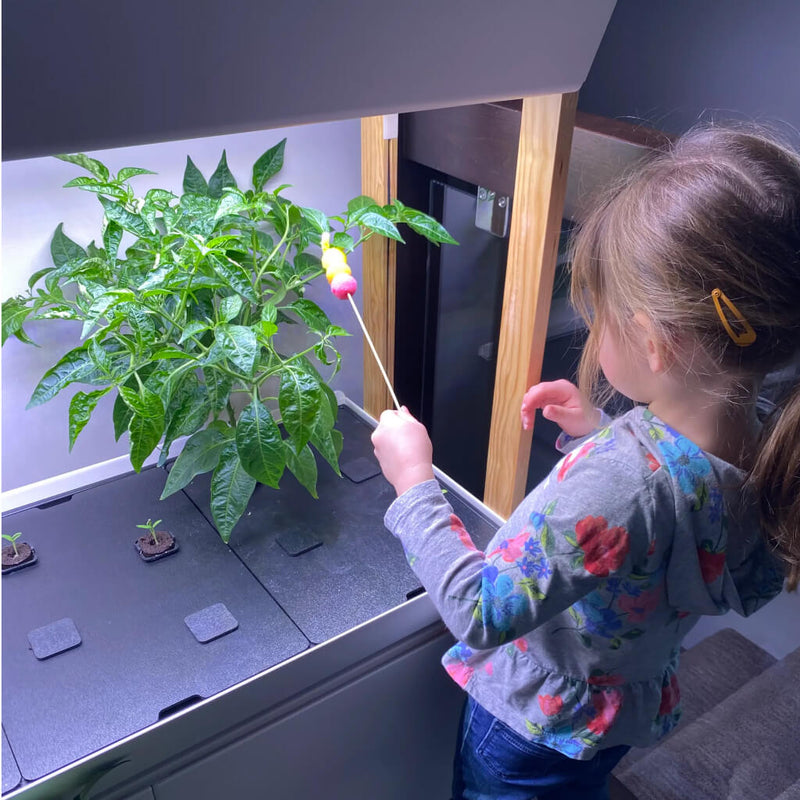
#5: BUILD A POLLINATOR
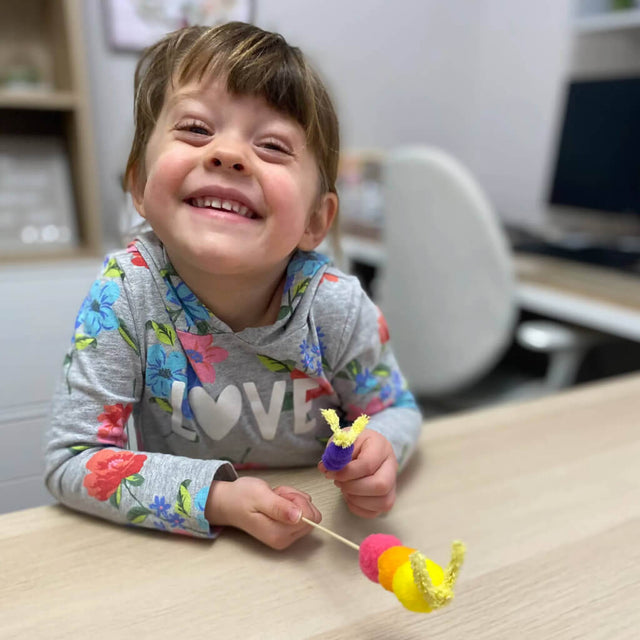
Pollinators play an important and crucial role in many plants' lifecycles. However, inside in your Rise Garden, you’ll have to play this important role for several of your plants. Of course, you could just use a paintbrush, or even buy pollinating devices that look like electric toothbrushes, but the activity I have for you is much cuter and you get to spend some time with your little ones crafting it! For this activity, you’ll need toothpicks or wooden skewers, pom poms, and a pipe cleaner. Start by skewering the pom poms to make the body of your pollinator. Next cut the pointed end of the skewer, leaving a bit of room to attach the pipe cleaner. Last, cut the pipe cleaner to approximately 2-3 inches long and tightly twist around the end of the skewer to make the antennae. Your pollinator is now ready for duty! Using your pollinator, gently touch the center of each of the flowers you wish to pollinate, with the goal of taking pollen from one flower to the next. For more information on pollination and some really great videos of pollinators in slow motion, check out this link.
Fun science vocabulary: the transfer of pollen from one plant to the next is called pollination. The process is required for plants to produce fruit and without it, some of our most enjoyed produce (apples, oranges, peaches, cucumbers, pumpkins, potatoes, and so many more) wouldn’t be very productive!
