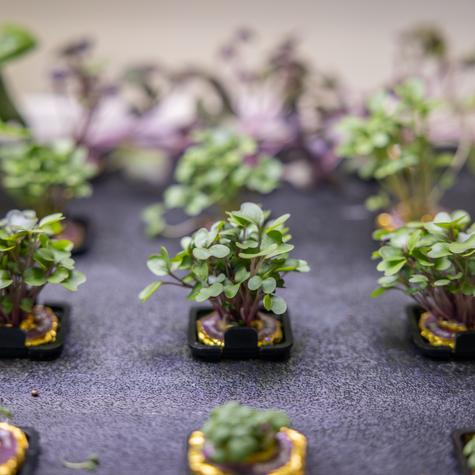
Have you ever gone to a fancy restaurant and seen a small pinch of baby leaves with elongated stems topping your food? They are often colorful with bright neon pinks, greens, and yellows, and have a strong flavor that cuts through your meal. These are microgreens! As they are becoming more mainstream, you can find them in grocery stores, in salads, and even kits that you can grow indoors.
High-Nutrient Density Greens
The great appeal of microgreens comes from their high nutrient density and their wonderful pallet of colors and flavors. It has been found that due to their small size, microgreens are gram-per-gram much more nutrient dense than their fully grown counterparts. As plants grow, they form various chemicals within their cells that we find helpful to grow as well! These vitamins, minerals, and phytochemicals, start to accumulate in very early stages of growth. As the plant grows, these nutrients dilute with other more abundant chemicals that provide the plant structure and help it survive harsh environments. Research (linked below) has shown that the ratio of these chemicals is at its highest right as the true leaves of a plant emerge. This is what qualifies a plant as a microgreen! The true leaves of a plant are the second set of leaves that develop after the cotyledons. Cotyledons are just a fancy name for the set of leaves that come prepackaged inside every seed.
It helps to understand this when selecting which microgreens you want to grow for yourself. I’s also important to realize that a microgreen is not a separate plant, but just a stage of growth of that plant. Every radish microgreen, if given the opportunity, would grow an expanded stem and look like you would imagine a radish would look like! However, the reverse is not the case when looking at microgreen seeds. Microgreen seeds have been bred for two very important traits: Germination speed and fungus / bacterial resistance. Germination is the most important step in a seed’s journey and can be vital for microgreen production as it is such a short time to grow.
Most microgreens are harvest ready in 2-3 weeks because of this fact. Due to the way most growers cultivate microgreens, densely packed in a tray, they are prone to molding. This is why seed cultivators select fungus and bacteria resistant plants to collect seeds from. Combined, these two traits explain why microgreens tend to cost more per pound than your other seeds.
Grow Your Own Microgreens with Rise Gardens
In order to cultivate your very own microgreens, Rise has recently released a microgreen seed pod, offered in 12 and 24 packs. Each seed pod comes pre-seeded with just enough seeds to get you a single serving for a sandwich or single plate, or you can harvest 4 pods for things like a sharable salad or your smoothie.
How to Grow Microgreens
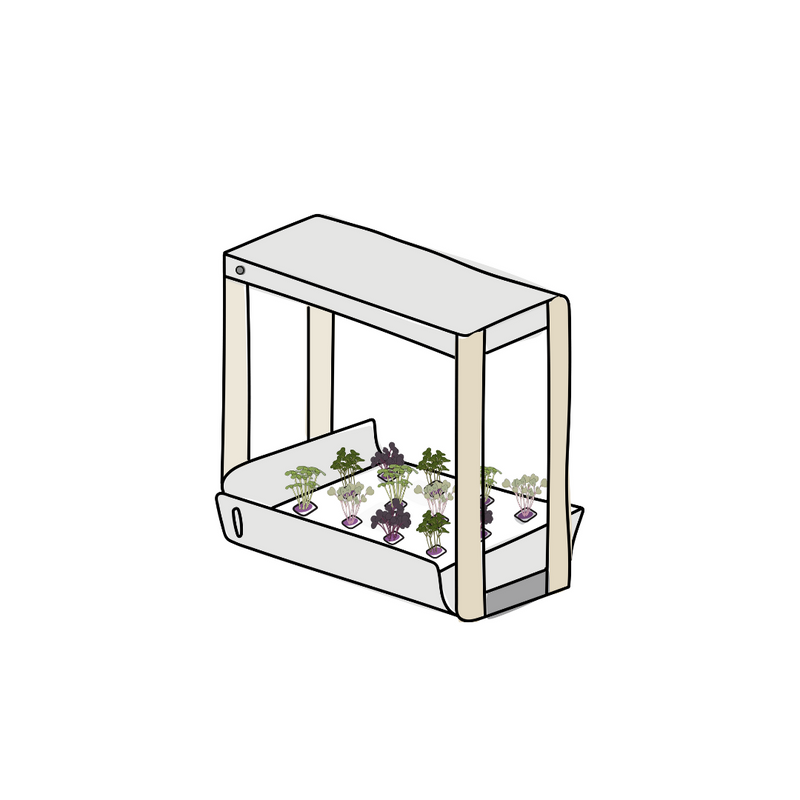
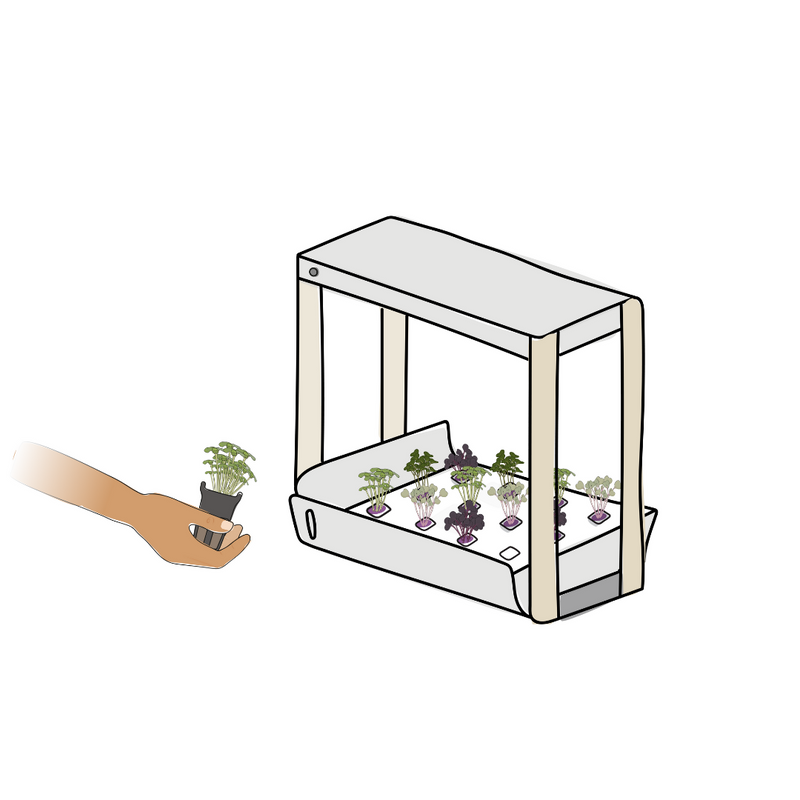
The best way to grow our microgreens is by starting them in groups of 4 in our Nursery. They will quickly sprout and should be moved into your Garden. Because they are only going to be grown for a short amount of time, DO NOT THIN YOUR MICROGREENS. Microgreens can be bunched up with each other in order to maximize space. Once they have sprouted (Day ~7), move them into a 12 hole tray lid or an 8 hole tray lid either in your Personal Rise Garden or your Family Rise Garden. Once they are inside your garden, they only need a handful of days before they are ready to Harvest. Simply wait until you can see their true leaves, then cut each pod at the base, leaving plenty of stem, and add to your food!
Because microgreens are so dense, if you are growing more than 1 tray of full microgreens at a time, we recommend adding a fan to your Garden so you can avoid moisture getting too high. And remember to Harvest the entire pod as leaving some plants behind will lead to molding.
To achieve a pod a day for your salad, simply stagger your planting by a day, adding a new one to your Nursery every time you are about to Harvest. After 7 days you will be able to enjoy multiple pods per day!
Links to research articles about nutrient density of microgreens:
1 https://www.frontiersin.org/articles/10.3389/fnut.2017.00007/full
2 https://pubs.rsc.org/en/content/articlehtml/2018/fo/c8fo01182f


